Other Technology | October 1, 2023

When we think of image editing programs, Photoshop is often the first one that comes to mind. However, not everyone can afford to pay for software with a potentially high price tag, especially if it won’t be used professionally. If you prefer to use a free program, you can find Paint on any Windows computer. While Paint may have a reputation for being of lower quality, it actually has many lesser-known features that can be quite useful. Here are some tricks that can help you make the most of it.
Do you have an image in one format and would like to change it to another? This is quite simple to do with Paint. All you need to do is go to the top menu and select the “Save as…” option. There, you can find various image formats to choose from, allowing you to change the format of the image without the need for external applications.
Another interesting option is to invert colors, giving you more editing possibilities for your images. To do this, right-click on the image you want to invert the colors of. In the menu that appears, click on “Invert Color.” The result will be an image with reversed colors, which can be especially useful when working with black and white photos. You can apply this to the entire image or specific areas.
Paint doesn’t allow for automatic background removal, but you can do it manually. To do this, select “Select” > “Free-form selection.” Now, select the area from which you want to remove the background and delete the rest.
Need to send or upload an image that’s too large? You can reduce its file size with ease. Simply open the image you want to reduce and save it again. Surprisingly, you’ll notice that the final file size is significantly lower than the original. While the reduction may not be as significant as with specialized tools, it can come in handy in a pinch.
If you want to shade an area easily without worrying about edges, you can zoom out from the image entirely and copy it to the clipboard. Then, zoom back in and freely shade without concerning yourself with the shape’s contours. When you finish shading, simply paste it back.
Paint allows you to create small-sized icons that can be used in various designs. To do this, create an image with dimensions of 32×32 pixels and save it with the .ico extension. You can then add it wherever you need it.
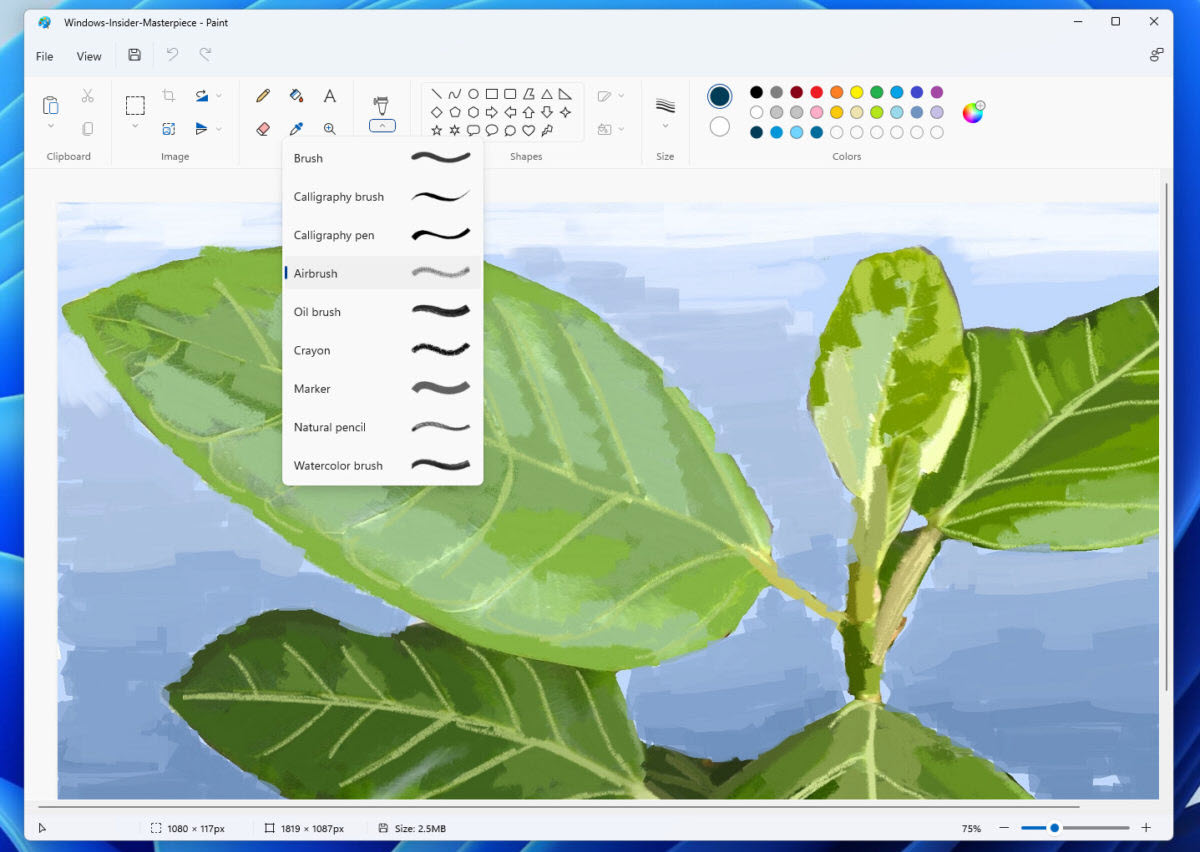
Creating your own brushes in Paint is quite straightforward. All you need to do is select a shape and make sure the transparent selection is enabled. Then, hold and drag the selected shape across your drawing. You’ll notice that the resulting effect is very similar to what you’d get with a brush, making it a fun and creative tool.
By default, Paint’s palette includes 20 colors. However, you may need more colors for your creation. You can find the “Edit colors” option next to the palette. Click on it, and you can choose the colors you need for your image.
Gradients can give your artwork an elegant look, and you can create them easily in Paint. Simply divide the image diagonally and select the two colors you want in the gradient. Once you’ve done that, go to “Resize” and edit the horizontal value to a large number, making sure the “Maintain aspect ratio” checkbox is unchecked.
Once you’ve finished editing, you can easily send your image via email. Simply go to “File” > “Share.” At that point, your Outlook account will open, allowing you to send the image to any of your contacts.